If your jump starter isn’t working properly, don’t worry! This guide will help you troubleshoot and fix the most common problems, ensuring your device is always ready when you need it.
Table of Contents
- What to Do If Your Jump Starter Won’t Turn On
- Car Won’t Start After Connecting the Jump Starter
- Why Is My Jump Starter Losing Charge Quickly?
- Understanding Warning Lights & Alerts
- How to Prevent Common Jump Starter Issues
What to Do If Your Jump Starter Won’t Turn On
If your jump starter isn’t powering up, try these steps:
- Check the charge level: Ensure the device is fully charged. If the battery is drained, plug it into the original charger and wait until it reaches 100%.
- Inspect the connectors: Look for signs of dirt, corrosion, or damage on the charging cable and input port.
- Temperature adjustment: If the device has been exposed to extreme heat or cold, let it sit at room temperature before trying again.
⚠️ If your jump starter still won’t turn on, contact the manufacturer’s support team for further assistance.
Car Won’t Start After Connecting the Jump Starter
If your car doesn’t start even after properly connecting the jump starter, follow these steps:
- Double-check connections: Ensure the red clamp is attached to the positive terminal (+) and the black clamp to the negative (-) or a metal grounding point.
- Allow time for charging: If the car battery is completely drained, leave the jump starter connected for a few minutes before attempting to start the engine.
- Verify jump starter capacity: Some larger engines require a jump starter with higher peak amps. If yours is underpowered, it may not provide enough current.
⚠️ If your vehicle still won’t start, the issue could be a dead car battery that needs replacement.
Why Is My Jump Starter Losing Charge Quickly?
If your jump starter drains faster than expected, consider these factors:
- Frequent use: If you’ve used the device multiple times, ensure you fully recharge it after each use.
- Storage conditions: Storing the jump starter in extreme temperatures or humid environments can reduce its efficiency.
- Battery lifespan: Over time, internal batteries degrade. If your jump starter is several years old, it may be time for a replacement.
💡 Pro Tip: Even if you don’t use your jump starter often, charge it at least every three months to maintain battery health.
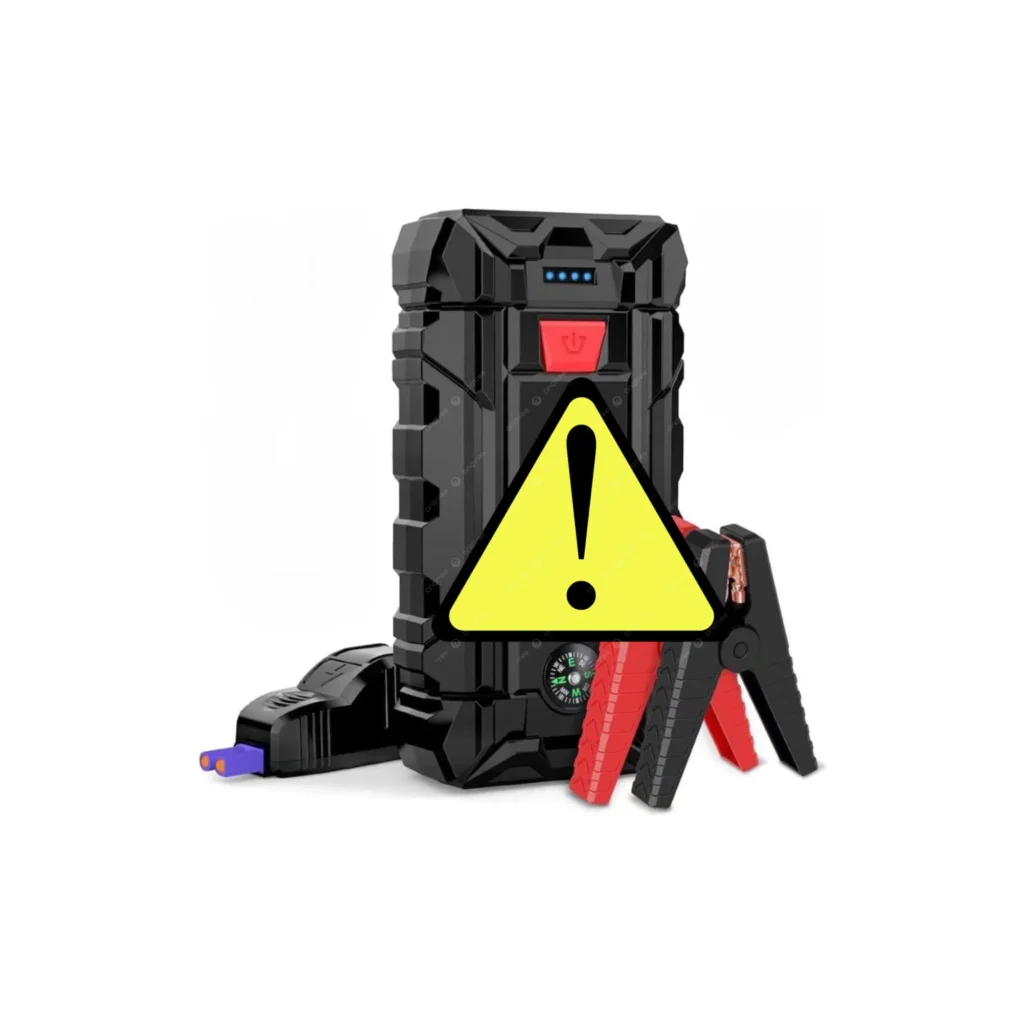
Understanding Warning Lights & Alerts
Most modern jump starters include indicator lights and alert sounds to warn about potential issues. Here’s what they typically mean:
- Flashing red light: Indicates an incorrect connection or a short circuit. Double-check that the clamps are properly attached.
- Continuous beeping: This often means overheating or an extended jump-start attempt. Let the unit cool down before using it again.
- Low battery light: The jump starter doesn’t have enough charge. Plug it in and recharge before attempting another jump.
Always refer to your manufacturer’s manual for specific light codes related to your jump starter model.
How to Prevent Common Jump Starter Issues
Taking care of your jump starter ensures it works when you need it most. Follow these best practices:
- Regular maintenance: Inspect the cables, clamps, and ports for wear or corrosion.
- Charge periodically: Even if unused, recharge your jump starter every three months.
- Store properly: Keep it in a cool, dry place, away from direct sunlight or freezing temperatures.
- Follow the user manual: Each model has specific guidelines—make sure you understand them.
A well-maintained jump starter can last for years! Taking small steps today can prevent major issues down the road.

Still have questions? Check our complete FAQ section for more troubleshooting tips.